Read next
Using virtual instrumentation technology to address new telecommunications testing challenges
Abstract Mobile phone manufacturers require a repair and testing system at their service centers capable of testing both...
Articles
2026-02-22

CATDOLL 146CM Miho TPE (Customer Photos)
Articles
2026-02-22

CATDOLL 102CM Li (TPE Body with Soft Silicone Head)
Articles
2026-02-22
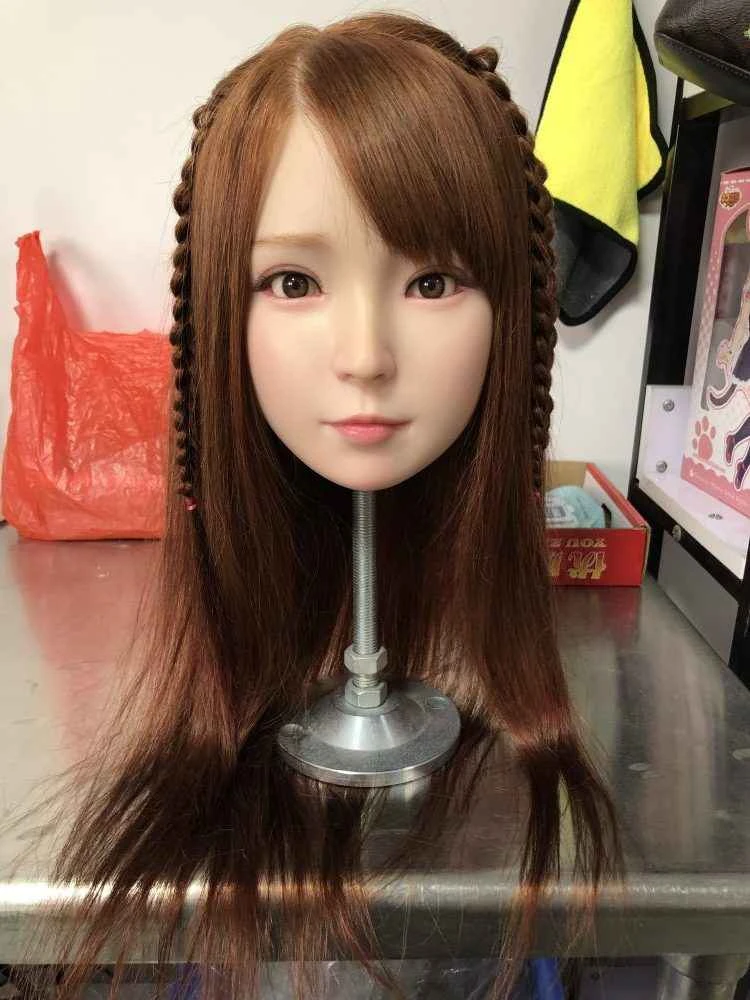
CATDOLL Jo Hard Silicone Head
Articles
2026-02-22